
Hanna Reagents
Hanna Reagents: How to Use Them for Accurate Water Testing
Maintaining stable water chemistry is the foundation of a healthy reef aquarium, and for many serious hobbyists, Hanna Instruments Checker colorimeters have become the gold standard for testing critical parameters. Unlike traditional color-chart test kits that rely on subjective visual comparisons, Hanna Checkers use colorimetry to produce precise digital readings. But even the best tools require the right technique. Here is a complete guide to using Hanna reagents accurately.
How Hanna Checkers Work
Hanna Checkers are handheld colorimeters. Each unit contains an LED light source, a filter, and a light-sensing detector. When a water sample mixed with reagent is placed inside the cuvette and inserted into the Checker, the device measures how much light is absorbed by the sample. The concentration of the parameter being tested, such as alkalinity, phosphate, calcium or nitrate, is calculated from this absorbance reading and displayed as a precise digital number. As this is an optical measurement, anything that interferes with the light path, including fingerprints, scratches, air bubbles or residue on the cuvette, can directly affect accuracy.
The Most Useful Hanna Checkers for Reef Tanks
Not all Hanna Checkers are equally straightforward to use. The three most recommended for everyday reef testing are the HI772 Alkalinity Checker (dKH), the HI774 Ultra Low Range Phosphate Checker and the HI782 High Range Nitrate Checker. These use a single reagent packet and deliver results in under two minutes, making them both efficient and accurate. The Calcium Checker (HI758) and Low Range Nitrate Checker involve a more involved testing procedure with multiple steps and are better suited to hobbyists who are comfortable with more technical protocols.
Step-by-Step Testing Protocol
Following a consistent protocol each time you test is the most important factor in getting reliable results across sessions.
Step 1: Prepare the cuvette. Rinse the cuvette with a small amount of your tank water before filling it with your sample. This removes any residual RO/DI water or cleaning fluid that could dilute the sample and skew the result. Fill to the correct measurement line, typically 10 mL, measured to the bottom of the meniscus curve for precision.
Step 2: Take the blank reading. With the cuvette filled with tank water only and no reagent added, place it into the Checker and take the reference reading as instructed. This is the C1 step for most models. Before inserting, wipe the outside of the cuvette with a clean microfiber cloth to remove fingerprints. Always orient the cuvette the same way in the chamber each time, using the visible seam or markings as a reference point for consistency.
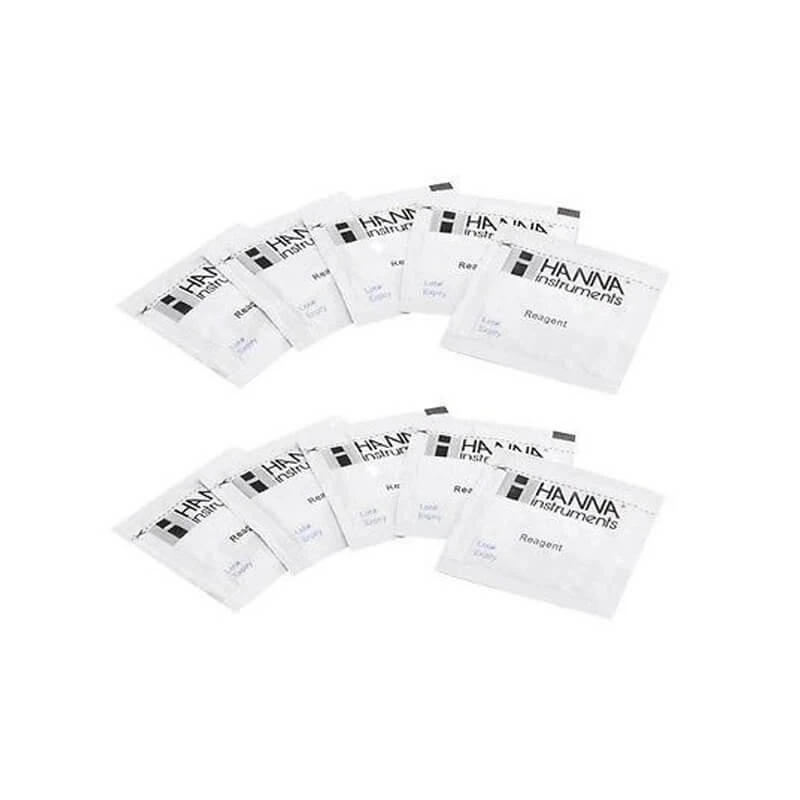
Step 3: Add the reagent. For powder reagents, tap the packet gently to ensure the powder is not stuck in the corner you are cutting. Cut along the dotted line using scissors, push the corners together to form a funnel, and pour the reagent into the cuvette without spilling. For liquid reagents, draw the correct volume into the syringe smoothly and steadily. Cap the cuvette and invert it gently 5 to 10 times to mix. Do not shake as this creates air bubbles that interfere with the reading.
Step 4: Take the measurement reading. Wipe the outside of the cuvette again with the microfiber cloth, place it back into the Checker, and press the button for the C2 reading. Note the result immediately, as the display turns off automatically after a short period.
Key Tips for Accuracy
Keep the cuvette clean. Staining from reagents over time changes the optical properties of the glass and leads to drift in readings. Always empty and rinse the cuvette after each test. Allow it to air dry completely before the next use to avoid diluting future samples. Cleaning periodically with a purpose-made cuvette cleaning solution helps prevent buildup.
Check reagent condition. Powdered reagents can absorb moisture and clump or harden if improperly stored. Discard any packets that appear clumped, discolored or past their expiration date. Store reagents in a cool dry location away from humidity and direct light.
Track variance between reagent batches. Slight differences between reagent production batches can introduce small but consistent offsets in readings. When opening a new reagent batch, run a test alongside a proven reference such as a lab-calibrated standard or a trusted secondary test kit to note any variance, then apply that correction factor going forward.
Check the battery. Low battery power can compromise accuracy. Keep spare batteries on hand, particularly if you run multiple Checkers in a single testing session.
Test consistently. For stable reef systems, testing alkalinity, calcium and magnesium one to two times per week is standard practice. Nitrate and phosphate can typically be tested weekly. During system changes, dosing adjustments or troubleshooting, increase frequency as needed. Recording results in a reef journal or digital log helps identify trends before they become problems.
Hanna Checkers are an investment that pays off in the confidence and precision they bring to your water chemistry management. At Dr. Reef’s Quarantined Fish, we believe that healthy livestock starts with excellent water quality, and precise testing tools like Hanna are a key part of achieving that standard in your reef.